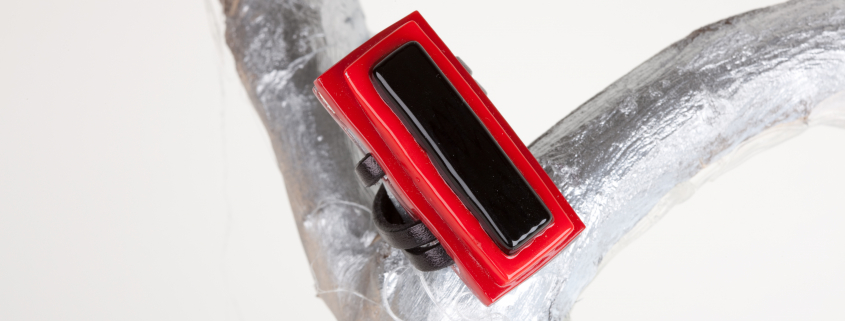
Fused Glass
Creating fused glass involves several steps, each requiring precision and an understanding of how glass behaves under different conditions. Let’s take a closer look at this intricate process.
Design and Preparation
The first step in making fused glass is conceptualizing the design. Artists typically start by sketching their ideas and planning the arrangement of the glass pieces. This stage allows them to visualize the final piece and make necessary adjustments to their design. Once the design is finalized, they select the type and color of glass they will use. Fused glass artists often work with a variety of glass forms, including sheets, frit (small glass particles), stringers (thin glass rods), and other specialized materials.
Cutting the Glass
With the design and materials ready, the next step is cutting the glass into the desired shapes and sizes. This process requires specialized tools like glass cutters and nippers. Artists score the glass sheets along the planned lines and use running pliers to break the glass along these score lines. Precision is crucial to achieve the exact shapes needed for the design. Safety is also paramount during this stage, so artists must wear protective gloves and eyewear to guard against sharp edges and glass shards.
Arranging the Glass
Once the glass pieces are cut, they are carefully arranged on a kiln shelf or a prepared mold. This arrangement is where the artist’s vision starts to come to life. Different colors and types of glass can be layered to achieve the desired effect. Artists may also incorporate various inclusions, such as metal foils or organic materials, to add texture and interest to the piece. The arrangement process requires a keen eye for detail and an understanding of how different glass types will interact during firing.
Firing in the Kiln
The arranged glass pieces are then placed in a kiln, where they are gradually heated to temperatures between 1,300°F and 1,500°F (700°C to 800°C). The heating process must be carefully controlled to ensure the glass fuses without bubbling or cracking. The firing schedule typically includes a slow heat-up phase, a hold time at the peak temperature, and a gradual cool-down phase to prevent thermal shock. This part of the process is both an art and a science, as the artist must understand how different temperatures and timing affect the glass’s final appearance.
Annealing
After the peak temperature is reached and the glass has fused, the kiln temperature is slowly reduced to anneal the glass. Annealing is a critical step that relieves internal stresses within the glass, making it more durable and less prone to breaking. The annealing times can vary depending on the thickness and complexity of the piece. Proper annealing ensures the longevity and structural integrity of the finished artwork.
Finishing Touches
Once the glass has cooled and annealed, it is carefully removed from the kiln. At this stage, the artist may add finishing touches to enhance the piece. This can include polishing edges to remove sharpness, applying additional decorative elements, or mounting the piece in a frame or setting. The finishing touches add the final layer of detail and refinement, bringing the artist’s original vision to its full fruition.


Leave a Reply
Want to join the discussion?Feel free to contribute!